目录
- 一. 🦁 写在前面
- 二. 🦁 安装使用
- 2.1 安装环境
- 2.2 配置yum源
- 2.3 安装软件包
- 2.4 编译代码
- 2.5 启动
- 三. 🦁 使用效果
- 3.1 编辑配置文件
- 3.2 编辑 HTML 代码
- 四. 🦁 使用感受

一. 🦁 写在前面
现在互联网体系越来越往云原生方向进发,云原生组件的地位也逐渐水涨船高,比如阿里研发的Higress 网关,无感聚合项目端口,统一分发到各个子服务,很好地替代了SpringCloud Gateway。
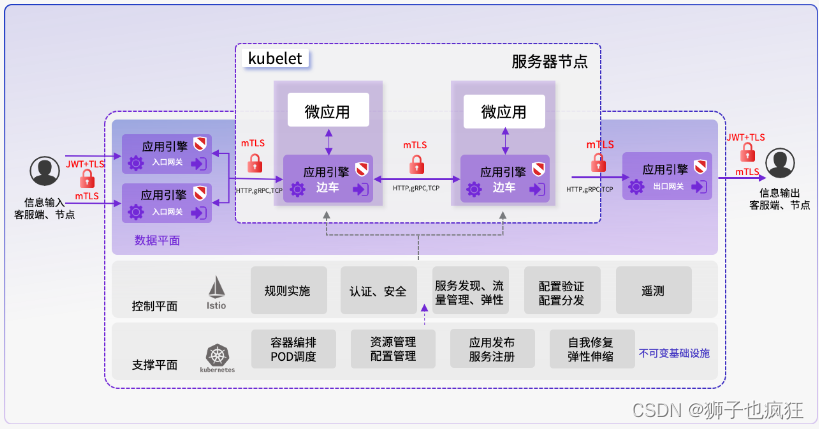
今天狮子又来给大家介绍一款应用引擎层面的云原生神器——OpenNJet,它是面向互联网和云原生应用提供的运行时组态服务程序。具备环境感知、安全控制、加速优化等能力,一般呈现为Web服务、流媒体服务、代理(Proxy)、应用中间件、API网关、消息队列等产品形态。
应用引擎在云原生架构中,除了提供南北向通信网关的功能以外,因为提供了服务网格中东西向通信、透明流量劫持、熔断、遥测与故障注入等新功能特性,其地位和作用在云原生架构中变得愈发重要。
体验官网链接:https://njet.org.cn/
现在狮子来给读者详细介绍一下体验过程:
二. 🦁 安装使用
OpenNJet应用引擎是基于 C/C++ 语言编写,需要先编译再运行。
2.1 安装环境
我这里使用的是腾讯云服务器 Centos7.9,所以使用Centos的安装方法。
2.2 配置yum源
sudo yum --enablerepo=extras install -q -y epel-release centos-release-scl-rh https://repo.ius.io/ius-release-el7.rpm
sudo curl -o /etc/yum.repos.d/mercurial.repo https://www.mercurial-scm.org/release/centos7/mercurial.repo
配置完yum源,/etc/yum.repos.d 会生成相对于的 repo 文件。

2.3 安装软件包
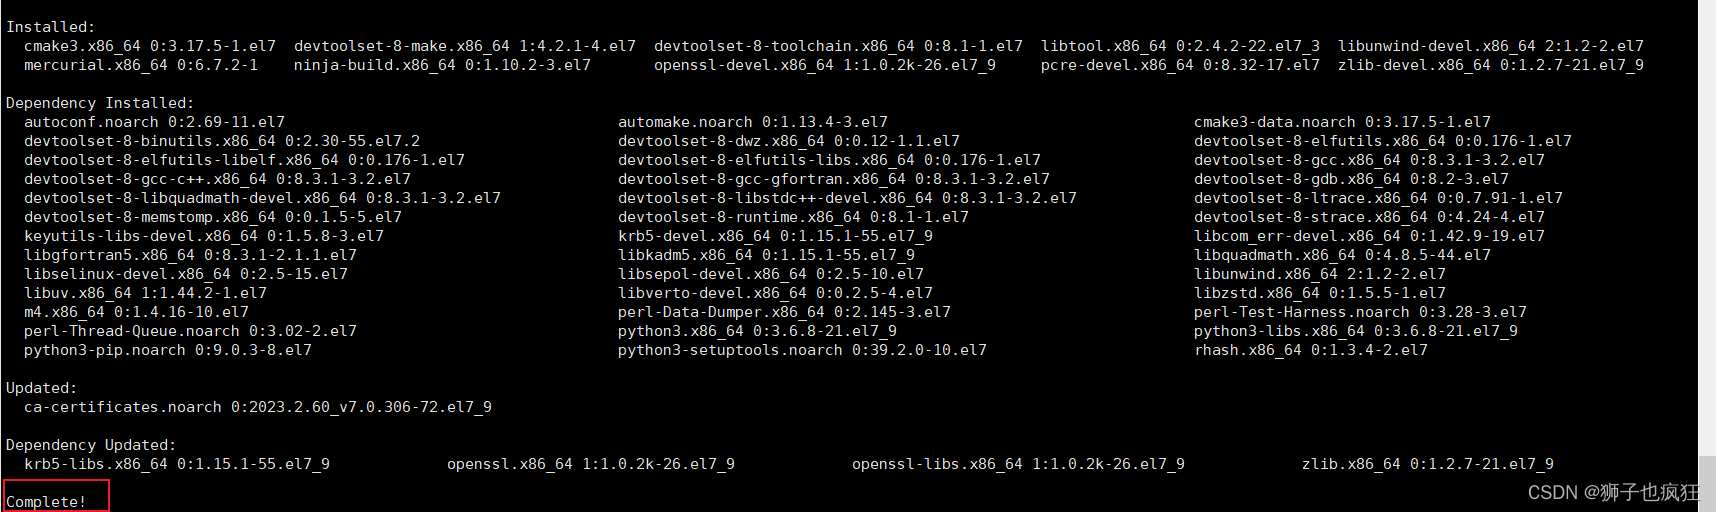
sudo yum install -y devtoolset-8-make devtoolset-8-toolchain ca-certificates mercurial zlib-devel cmake3 ninja-build libunwind-devel pcre-devel openssl-devel libtool libtool-ltdl
安装成功结果:
创建符号连接:
sudo ln -s /opt/rh/devtoolset-8/root/usr/bin/gcc /usr/local/bin/gcc
sudo ln -s /opt/rh/devtoolset-8/root/usr/bin/c++ /usr/local/bin/c++
sudo ln -s /opt/rh/devtoolset-8/root/usr/bin/cc /usr/local/bin/cc
sudo ln -s /opt/rh/devtoolset-8/root/usr/bin/make /usr/local/bin/make
2.4 编译代码
第一步执行:
sh build_cc.sh conf
第二步执行:
make
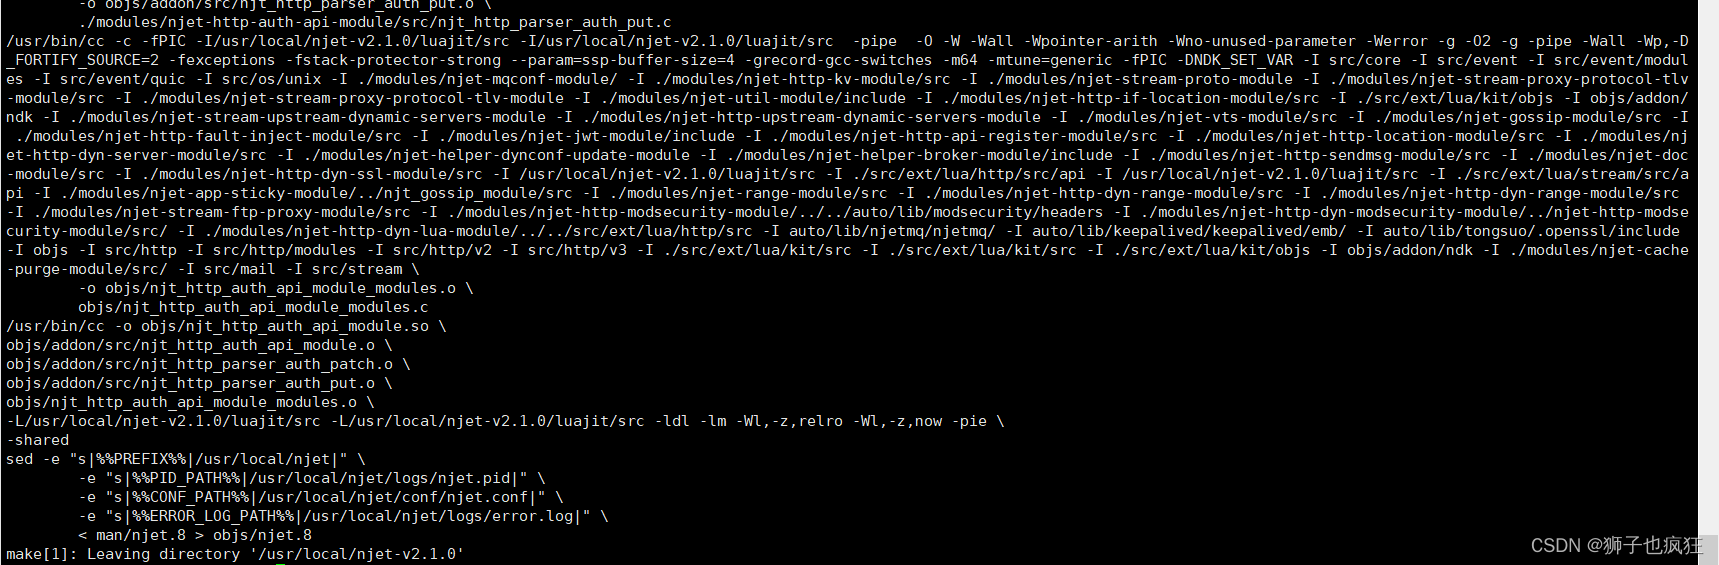
tips:
文件太大了,编译时间会有点长,耐心等待哟!
第三步执行:
make install
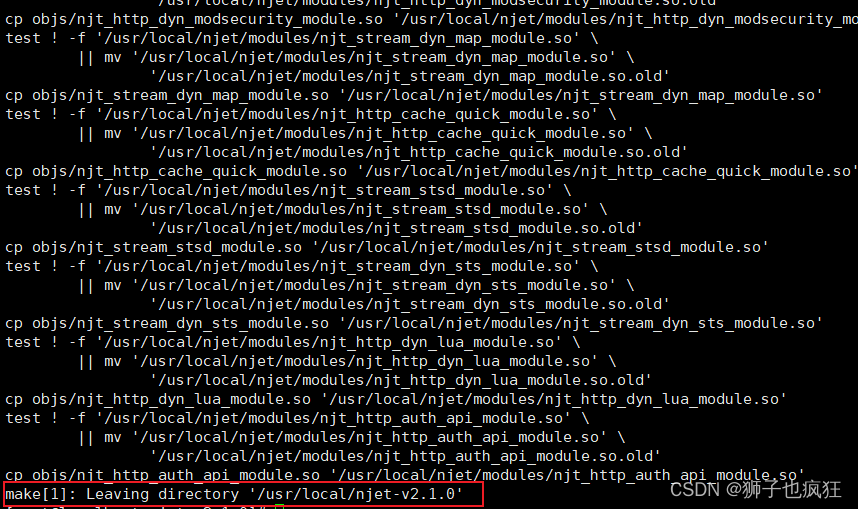
这样就安装成功了!!
2.5 启动
 cd /usr/local/njet
 sbin/njet
tips:
有小伙伴可能看到官网教程使用的是直接
sudo systemctl start njet启动,显示 njet not found的结果,这是因为通过源码编译安装的,可执行文件及相关的配置文件将安装到目录/usr/local/njet
只有通过使用 rpm 或 deb 二进制安装才能使用 systemctl 起停哟!
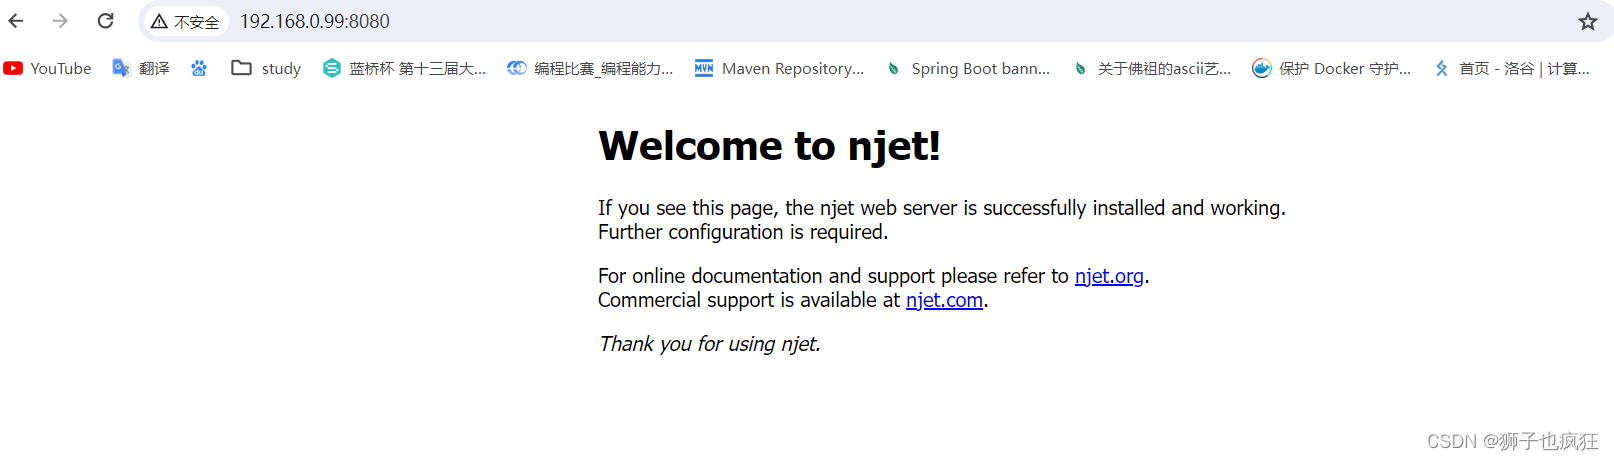
启动成功截图如下:
三. 🦁 使用效果
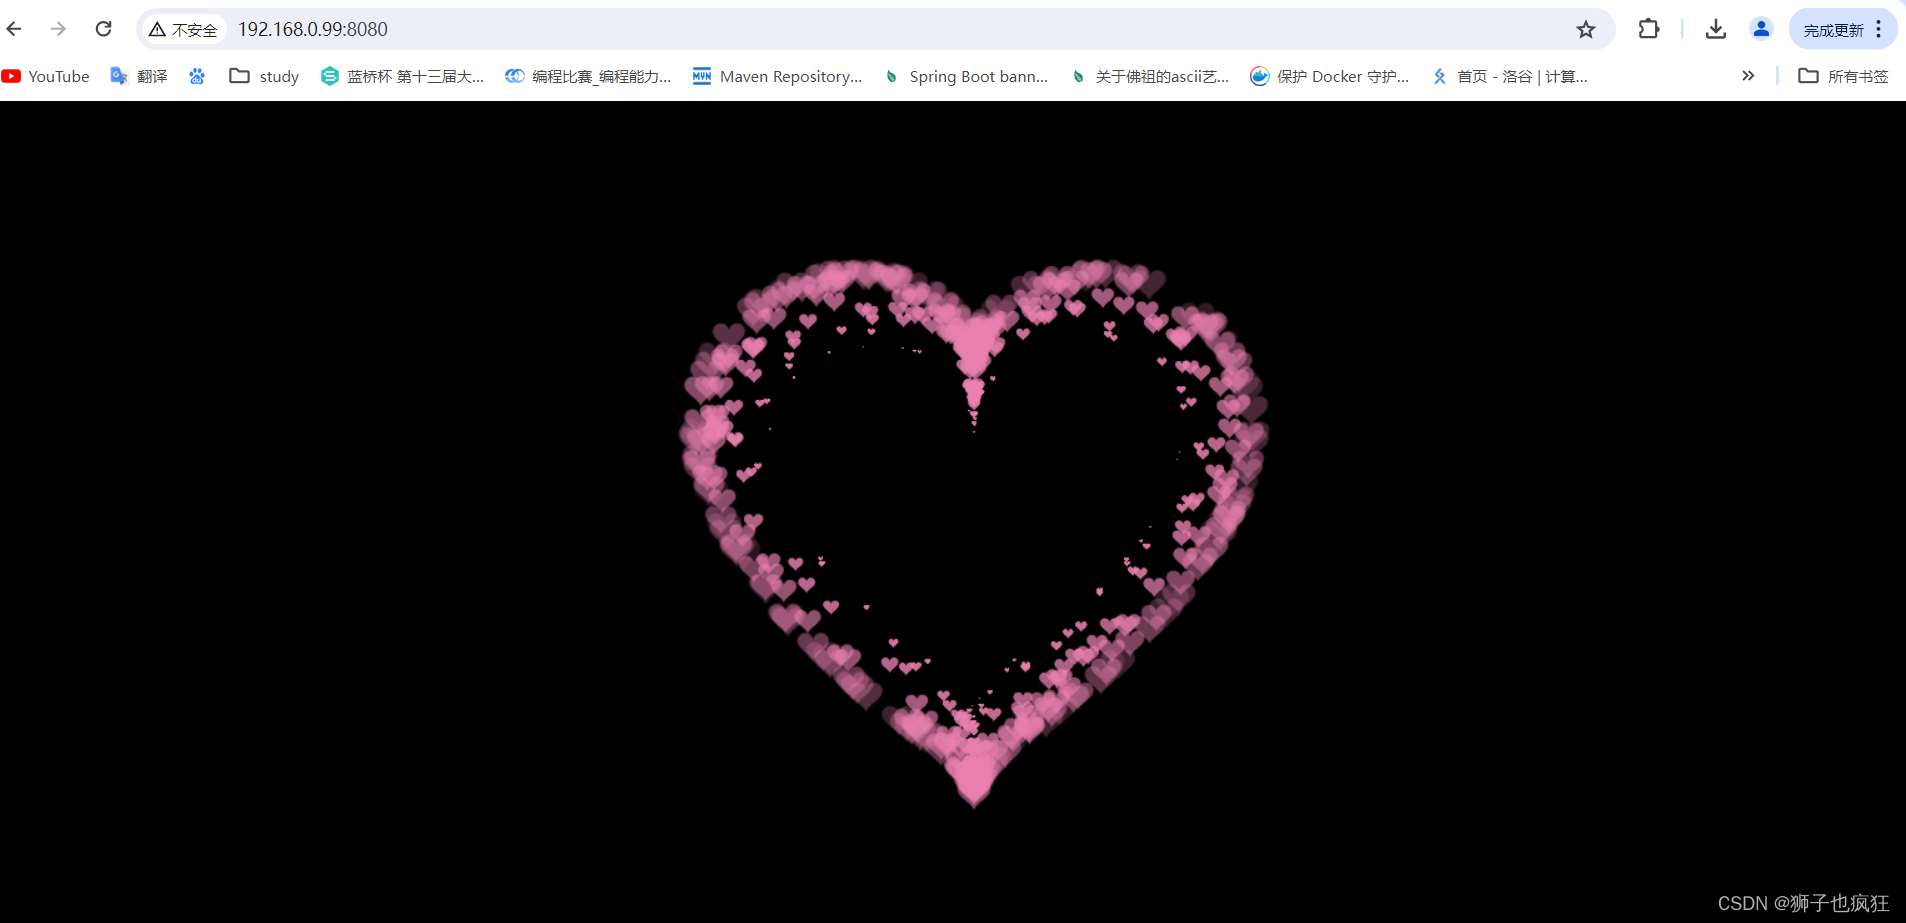
狮子通过官网的配置文件示例,将请求重定向到之前很火的一个动态爱心代码中。
3.1 编辑配置文件
- 进入配置文件:
cd /usr/local/njet/conf/njet.conf
vim /usr/local/njet/conf/njet.conf
- 编辑配置文件
worker_processes auto;

cluster_name njet;
node_name node1;

error_log logs/error.log error;

helper ctrl /usr/local/njet/modules/njt_helper_ctrl_module.so /usr/local/njet/conf/njet_ctrl.conf;
helper broker /usr/local/njet/modules/njt_helper_broker_module.so;

load_module /usr/local/njet/modules/njt_http_split_clients_2_module.so;
load_module /usr/local/njet/modules/njt_agent_dynlog_module.so;
load_module /usr/local/njet/modules/njt_http_dyn_bwlist_module.so;
load_module /usr/local/njet/modules/njt_dyn_ssl_module.so;
load_module /usr/local/njet/modules/njt_http_vtsc_module.so;
load_module /usr/local/njet/modules/njt_http_location_module.so;
#load_module /usr/local/njet/modules/njt_http_lua_module.so;
#load_module /usr/local/njet/modules/njt_http_modsecurity_module.so;
#load_module /usr/local/njet/modules/njt_http_dyn_modsecurity_module.so;


events {
    worker_connections  1024;
}


http {
    include mime.types;
    access_log off;
    vhost_traffic_status_zone;
    #lua_package_path "$prefix/lualib/lib/?.lua;/usr/local/njet/modules/?.lua;;";
    #lua_package_cpath "$prefix/lualib/clib/?.so;;";
    server {
        #modsecurity on;
        #modsecurity_rules_file /usr/local/njet/conf/modsec/main.conf;

        listen       8080;
        location / {
           root /opt/html;
           index index.html
        }
    }

}
这里我们定义一个 server ,该 server 监听8080端口,将该请求的根目录设置为 /opt/html 下的index.html,当外部访问 192.168.0.99:8080 时,则会直接访问到 /opt/html/index.html 网页。
3.2 编辑 HTML 代码
我们来编辑 /opt/html/index.html 代码,将爱心桃代码放进去:

<!doctype html>
<html>
<head>
<meta charset="utf-8">
<title>canvas爱心</title>

<style>
html, body {
  height: 100%;
  padding: 0;
  margin: 0;
  background: #000;
}
canvas {
  position: absolute;
  width: 100%;
  height: 100%;
}</style>
</head>
<body>

<canvas id="pinkboard"></canvas>

<script>
/*
 * Settings
 */
var settings = {
  particles: {
    length:   500, // maximum amount of particles
    duration:   2, // particle duration in sec
    velocity: 100, // particle velocity in pixels/sec
    effect: -0.75, // play with this for a nice effect
    size:      30, // particle size in pixels
  },
};

/*
 * RequestAnimationFrame polyfill by Erik M?ller
 */
(function(){var b=0;var c=["ms","moz","webkit","o"];for(var a=0;a<c.length&&!window.requestAnimationFrame;++a){window.requestAnimationFrame=window[c[a]+"RequestAnimationFrame"];window.cancelAnimationFrame=window[c[a]+"CancelAnimationFrame"]||window[c[a]+"CancelRequestAnimationFrame"]}if(!window.requestAnimationFrame){window.requestAnimationFrame=function(h,e){var d=new Date().getTime();var f=Math.max(0,16-(d-b));var g=window.setTimeout(function(){h(d+f)},f);b=d+f;return g}}if(!window.cancelAnimationFrame){window.cancelAnimationFrame=function(d){clearTimeout(d)}}}());

/*
 * Point class
 */
var Point = (function() {
  function Point(x, y) {
    this.x = (typeof x !== 'undefined') ? x : 0;
    this.y = (typeof y !== 'undefined') ? y : 0;
  }
  Point.prototype.clone = function() {
    return new Point(this.x, this.y);
  };
  Point.prototype.length = function(length) {
    if (typeof length == 'undefined')
      return Math.sqrt(this.x * this.x + this.y * this.y);
    this.normalize();
    this.x *= length;
    this.y *= length;
    return this;
  };
  Point.prototype.normalize = function() {
    var length = this.length();
    this.x /= length;
    this.y /= length;
    return this;
  };
  return Point;
})();

/*
 * Particle class
 */

var Particle = (function() {
  function Particle() {
    this.position = new Point();
    this.velocity = new Point();
    this.acceleration = new Point();
    this.age = 0;
  }
  Particle.prototype.initialize = function(x, y, dx, dy) {
    this.position.x = x;
    this.position.y = y;
    this.velocity.x = dx;
    this.velocity.y = dy;
    this.acceleration.x = dx * settings.particles.effect;
    this.acceleration.y = dy * settings.particles.effect;
    this.age = 0;
  };
  Particle.prototype.update = function(deltaTime) {
    this.position.x += this.velocity.x * deltaTime;
    this.position.y += this.velocity.y * deltaTime;
    this.velocity.x += this.acceleration.x * deltaTime;
    this.velocity.y += this.acceleration.y * deltaTime;
    this.age += deltaTime;
  };
  Particle.prototype.draw = function(context, image) {
    function ease(t) {
      return (--t) * t * t + 1;
    }
    var size = image.width * ease(this.age / settings.particles.duration);
    context.globalAlpha = 1 - this.age / settings.particles.duration;
    context.drawImage(image, this.position.x - size / 2, this.position.y - size / 2, size, size);
  };
  return Particle;
})();

/*
 * ParticlePool class
 */
var ParticlePool = (function() {
  var particles,
      firstActive = 0,
      firstFree   = 0,
      duration    = settings.particles.duration;

  function ParticlePool(length) {
    // create and populate particle pool
    particles = new Array(length);
    for (var i = 0; i < particles.length; i++)
      particles[i] = new Particle();
  }
  ParticlePool.prototype.add = function(x, y, dx, dy) {
    particles[firstFree].initialize(x, y, dx, dy);

    // handle circular queue
    firstFree++;
    if (firstFree   == particles.length) firstFree   = 0;
    if (firstActive == firstFree       ) firstActive++;
    if (firstActive == particles.length) firstActive = 0;
  };
  ParticlePool.prototype.update = function(deltaTime) {
    var i;

    // update active particles
    if (firstActive < firstFree) {
      for (i = firstActive; i < firstFree; i++)
        particles[i].update(deltaTime);
    }
    if (firstFree < firstActive) {
      for (i = firstActive; i < particles.length; i++)
        particles[i].update(deltaTime);
      for (i = 0; i < firstFree; i++)
        particles[i].update(deltaTime);
    }

    // remove inactive particles
    while (particles[firstActive].age >= duration && firstActive != firstFree) {
      firstActive++;
      if (firstActive == particles.length) firstActive = 0;
    }


  };
  ParticlePool.prototype.draw = function(context, image) {
    // draw active particles
    if (firstActive < firstFree) {
      for (i = firstActive; i < firstFree; i++)
        particles[i].draw(context, image);
    }
    if (firstFree < firstActive) {
      for (i = firstActive; i < particles.length; i++)
        particles[i].draw(context, image);
      for (i = 0; i < firstFree; i++)
        particles[i].draw(context, image);
    }
  };
  return ParticlePool;
})();

/*
 * Putting it all together
 */
(function(canvas) {
  var context = canvas.getContext('2d'),
      particles = new ParticlePool(settings.particles.length),
      particleRate = settings.particles.length / settings.particles.duration, // particles/sec
      time;

  // get point on heart with -PI <= t <= PI
  function pointOnHeart(t) {
    return new Point(
      160 * Math.pow(Math.sin(t), 3),
      130 * Math.cos(t) - 50 * Math.cos(2 * t) - 20 * Math.cos(3 * t) - 10 * Math.cos(4 * t) + 25
    );
  }

  // creating the particle image using a dummy canvas
  var image = (function() {
    var canvas  = document.createElement('canvas'),
        context = canvas.getContext('2d');
    canvas.width  = settings.particles.size;
    canvas.height = settings.particles.size;
    // helper function to create the path
    function to(t) {
      var point = pointOnHeart(t);
      point.x = settings.particles.size / 2 + point.x * settings.particles.size / 350;
      point.y = settings.particles.size / 2 - point.y * settings.particles.size / 350;
      return point;
    }
    // create the path
    context.beginPath();
    var t = -Math.PI;
    var point = to(t);
    context.moveTo(point.x, point.y);
    while (t < Math.PI) {
      t += 0.01; // baby steps!
      point = to(t);
      context.lineTo(point.x, point.y);
    }
    context.closePath();
    // create the fill
    context.fillStyle = '#ea80b0';
    context.fill();
    // create the image
    var image = new Image();
    image.src = canvas.toDataURL();
    return image;
  })();

  // render that thing!
  function render() {
    // next animation frame
    requestAnimationFrame(render);

    // update time
    var newTime   = new Date().getTime() / 1000,
        deltaTime = newTime - (time || newTime);
    time = newTime;

    // clear canvas
    context.clearRect(0, 0, canvas.width, canvas.height);

    // create new particles
    var amount = particleRate * deltaTime;
    for (var i = 0; i < amount; i++) {
      var pos = pointOnHeart(Math.PI - 2 * Math.PI * Math.random());
      var dir = pos.clone().length(settings.particles.velocity);
      particles.add(canvas.width / 2 + pos.x, canvas.height / 2 - pos.y, dir.x, -dir.y);
    }

    // update and draw particles
    particles.update(deltaTime);
    particles.draw(context, image);
  }

  // handle (re-)sizing of the canvas
  function onResize() {
    canvas.width  = canvas.clientWidth;
    canvas.height = canvas.clientHeight;
  }
  window.onresize = onResize;

  // delay rendering bootstrap
  setTimeout(function() {
    onResize();
    render();
  }, 10);
})(document.getElementById('pinkboard'));</script>

</body>
</html>
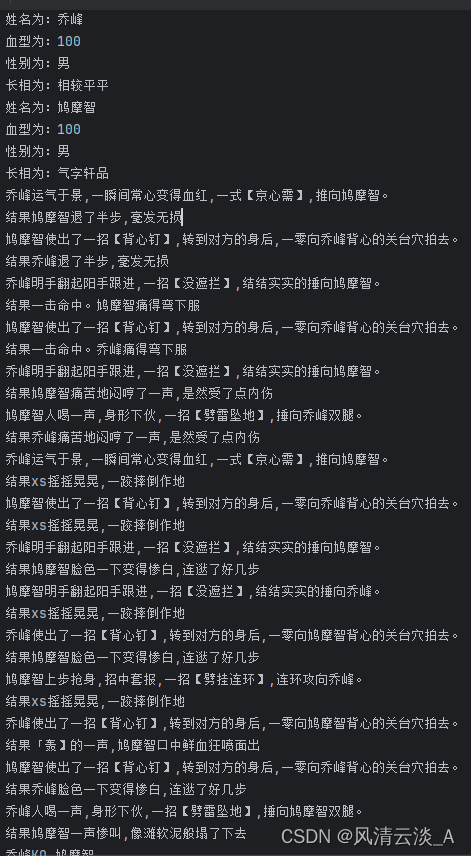
保存后,重启 njet,访问 192.168.0.99:8080,效果如下:
四. 🦁 使用感受
在使用上,OpenNjet 很好地继承了 Nginx 服务器,配置文件使用很相似,对于熟悉 Nginx 的开发者来说,学习成本并不会太高,并且 OpenNJet 具备环境感知、安全控制、加速优化等能力,并且可以通过动态加载机制实现不同的产品形态,如API网关、消息代理、入口/出口控制器、边车、负载均衡和WAF等,为企业更好地打造一款稳定、可靠、高效的应用。

欢迎加入狮子的社区:『Lion-编程进阶之路』,日常收录优质好文
更多文章可持续关注上方🦁的博客,2024 咱们顶峰相见!